

Now, we all know that even the most reliable wholesale labs like ours can make the occasional mistake. After all, we're only human, and sometimes things slip through the cracks. But let's face it, there's nothing more cringe-worthy than dispensing a pair of glasses that are just plain wrong. It's a blow to your reputation as an optician and shakes your patients' confidence in your abilities.
So, how can you prevent these mishaps from happening? Well, it's actually quite simple. It all starts with having a rock-solid check-in process in place. Just think about the trust you put in your pilot when you board a plane. No matter how experienced they are, they always rely on a system and checklist to ensure your safety.
Similarly, implementing a thorough check-in process for your optical shop can help eliminate any worries about mistakes. We've even included a free checklist that you can download to make it easier for you.
By following our straightforward guide to checking in your lenses, you can greatly enhance patient satisfaction and the overall experience. Personally, I'd much rather receive a call informing me of a delay than be blindsided by incorrect glasses.
Now, let me share the foolproof 6-step process that I've used for over a decade in retail optical to keep my patients happy and avoid costly errors:
1) Open the Box
Every great journey begins with a single step, so start by opening up that box! Make sure you have a clean, designated area to sort through your jobs. It's also a good idea to separate jobs that need to be checked in from completed ones to avoid any mix-ups if you get interrupted.
2) Check the Invoice
Mistakes can happen, whether it be in the lab or when ordering. Sometimes jobs get shipped to the wrong accounts. To avoid this, read the complete invoice carefully to verify that the patient's name and Rx match what you have in your system for the glasses waiting to be dispensed. Additionally, make sure that everything was ordered correctly.
If everything checks out, move on to the next step.
3) Inspect the Frame & Lenses
If you've ordered complete jobs, now is the time to inspect the frame for any damage. Look for any color distortion on the frame and ensure that the lenses are mounted correctly without any warping or stress fractures.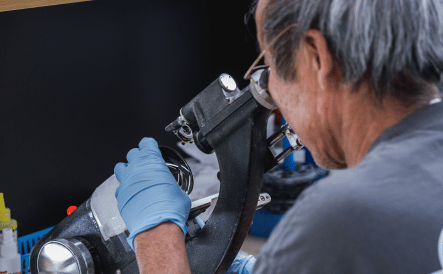
For complete jobs and uncut lenses, you'll need to check the lens markings and verify the Rx with a lensometer. This is also a good opportunity to emphasize the importance of understanding a compensated Rx when checking digital progressive lenses.
Occasionally, the wrong invoice might be wrapped with the wrong job. If everything else seems correct but the lensometer is showing a wildly different Rx than it should, this is likely the culprit.
4) Trust But Verify
After verifying the Rx with the lensometer, double-check a few other specifications to ensure that the job is ready to be dispensed. Depending on whether you've ordered uncut lenses or complete jobs, you'll need to do one of the following:
- For uncut lenses, mark the PD and check the seg height using the appropriate layout chart (you can find digital layout charts on our Resource Center for free download). Verify the prism and then edge the lenses, mounting them to the patient's chosen frame.
- For complete jobs, verify the PD and check the seg height, OC, and prism to ensure everything is correct.
5) Confirm Bench Alignment
Frames can sometimes arrive at the lab misaligned due to a rough journey in transit. Typically, we adjust all frames to a standard bench alignment based on the frame and Rx type, ensuring that the frame sits flat, the temples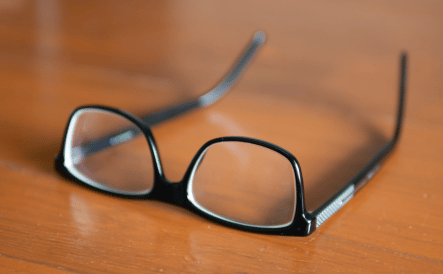 aren't raised or splayed, and the frame itself is symmetrical.
During the return transit to your shop, there's still a small chance that the frame may become misaligned. So, we recommend a quick bench alignment to verify that everything is in order.
6) Clean the Lenses
There are plenty of lens cleaning solutions available on the market, but be sure to avoid any cleaners with a high concentration of acid, as they can damage the lens material and/or the anti-reflective coating. You can easily create a simple lens cleaning solution by diluting rubbing alcohol and a few drops of plain dish soap with water in a spray bottle. This step is crucial to ensure that there are no smudges or fingerprints on the lenses. Nobody wants dirty-looking lenses, even if everything else is correct.
7) Dispense to the Patient
Contact your patient via call, text, or email to let them know that their glasses are ready for pickup. Now, it's time to really impress them and make their day. Follow standard ABO dispensing guidelines to ensure a proper fit and provide instructions on how to wear and care for their new glasses.
Once you've confirmed that the patient is happy with the fit, take the opportunity to educate them on the proper care of their new glasses. This is also a great chance to upsell add-ons that can help protect their investment, such as lens cloths, anti-fog sprays, etc.
